
The happiness every pet parent get when they see their dog jumping and moving around freely. GPS Wireless Dog Fence is a new technological gadget that keeps you carefree while keeping your dog safe. It offers an invisible boundary without the need for physical barriers, making it ideal for various property sizes and shapes. If you're looking for a Wireless Dog Fence at home, this step-by-step guide will walk you through the several phases of installation. The devices from PawTronic are designed to be the simplest, so even if you're not tech-savvy, you'll be able to set up your dog fence system without a mess.
There's an entire range of Wireless Dog Fence system, from GPS integrated fencing system to Radar technology, stylish and waterproof dog collars for medium to large sized dogs that have been serving the best in the market.
Step 1: Unpack and Familiarize Yourself with the Components
So when you receive your GPS Wireless Dog Fence Collar system from any of the brands available in the market and online, the first thing you'll want to do is unpack everything and take record. In most cases, your package will include:
-
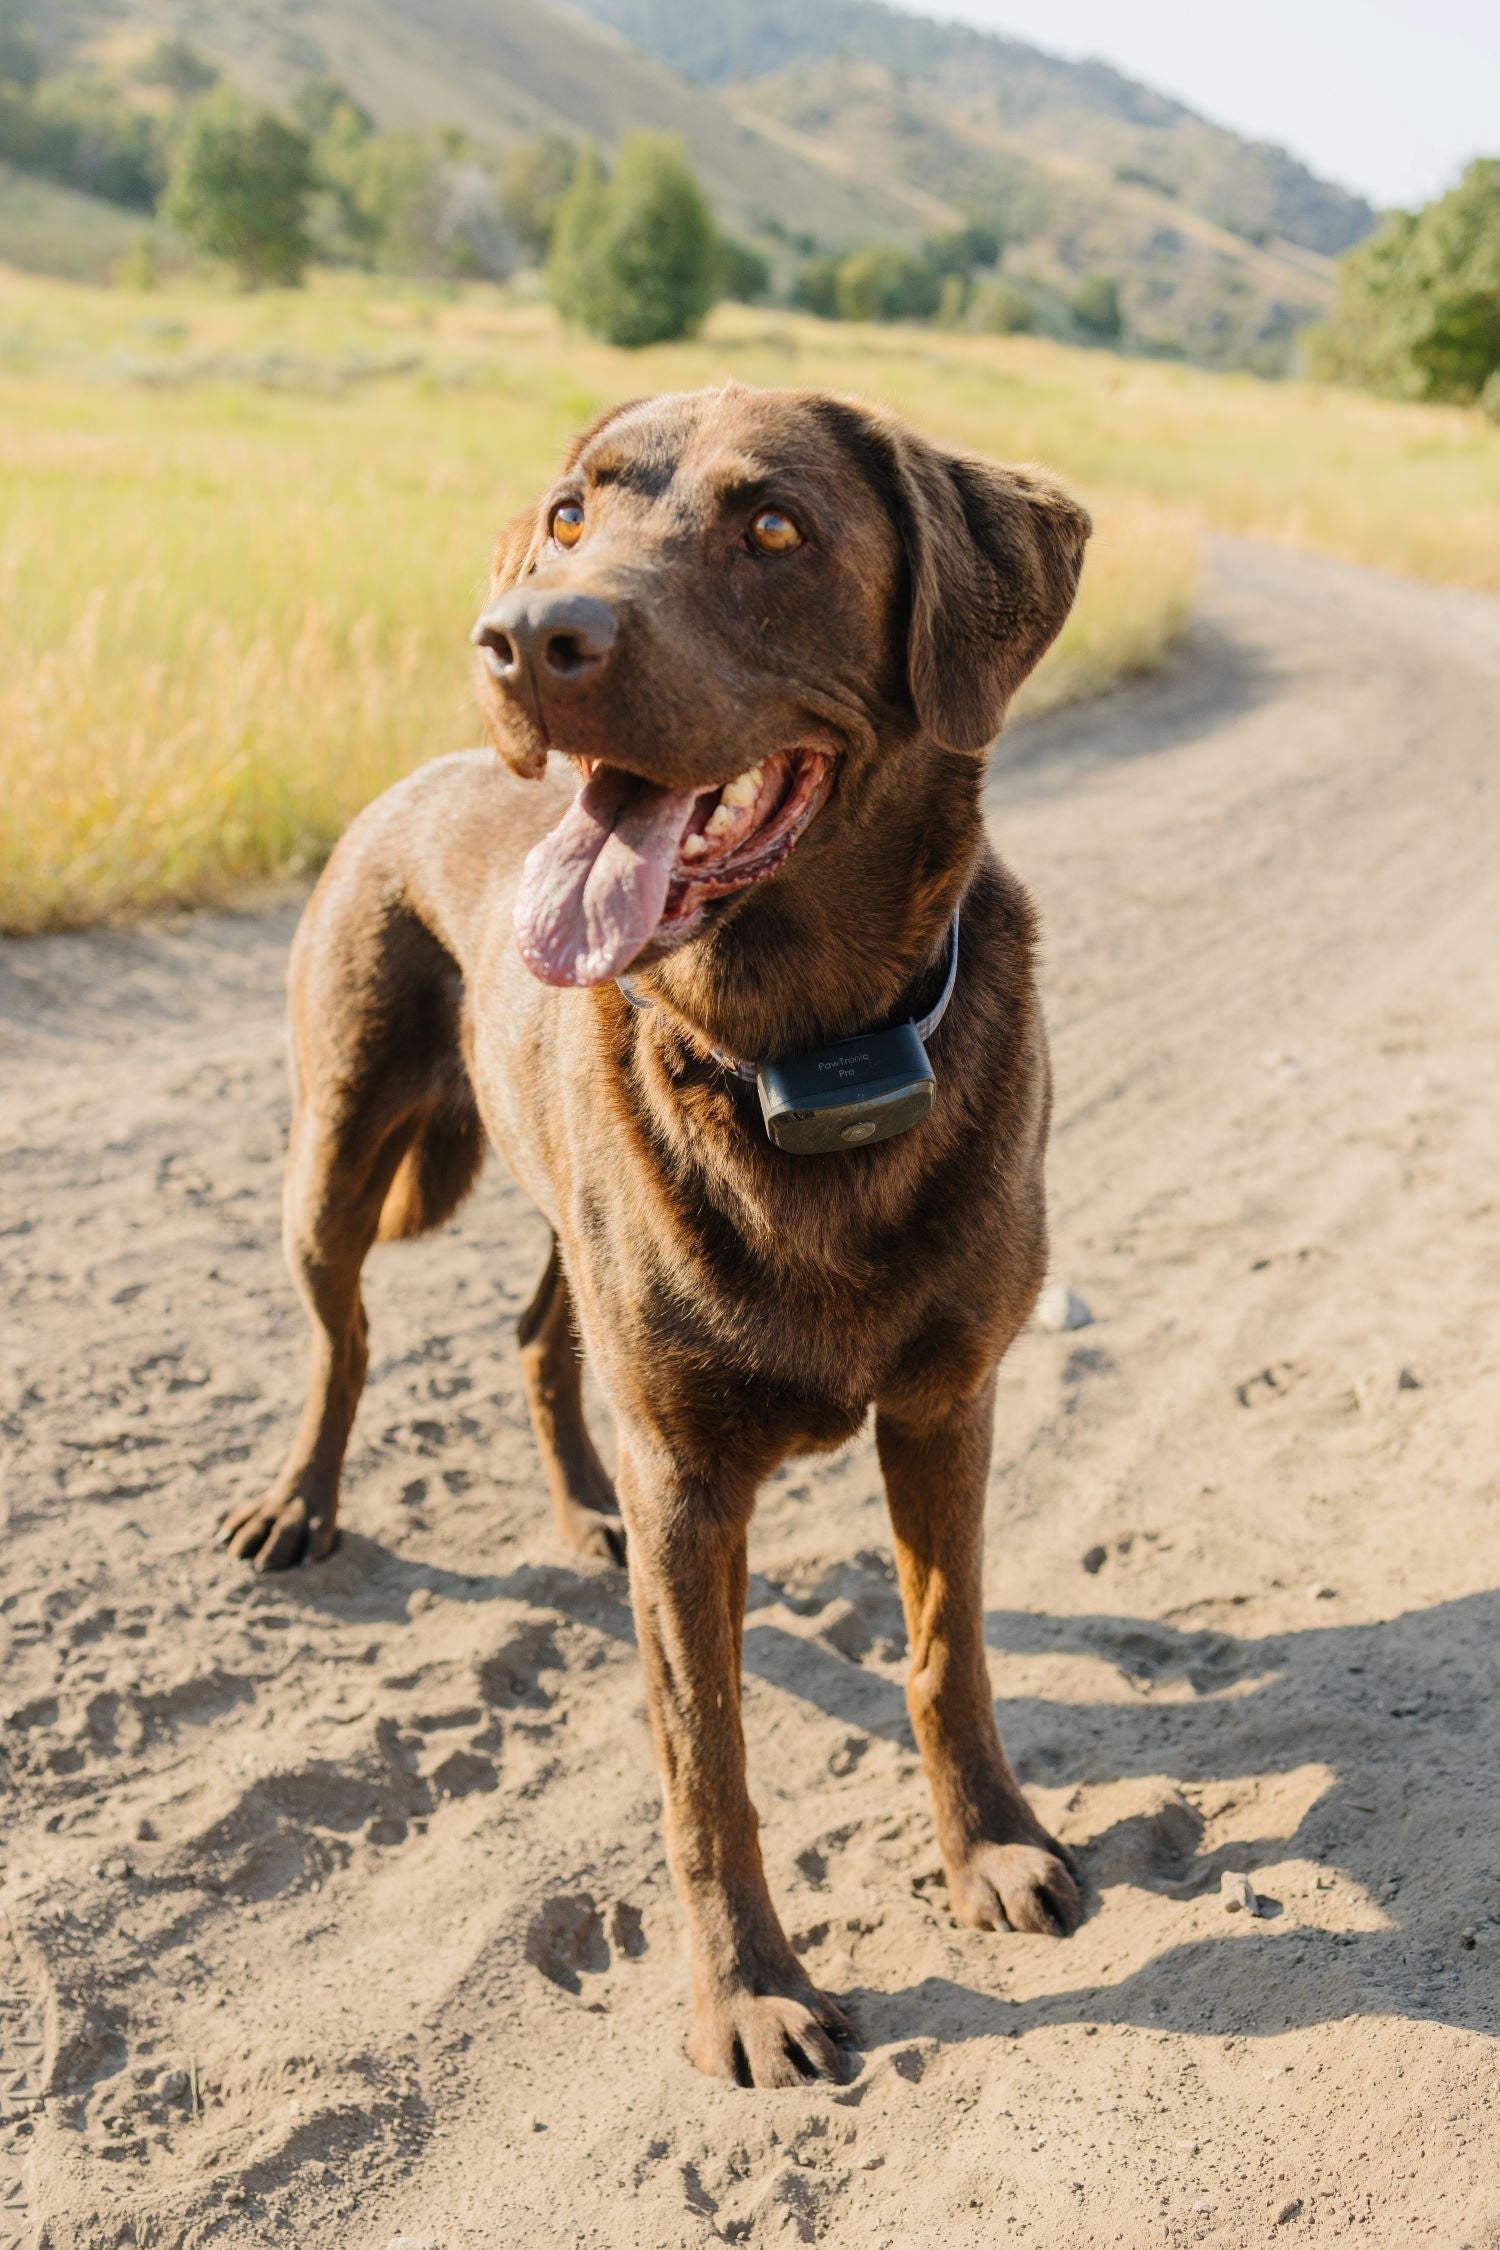
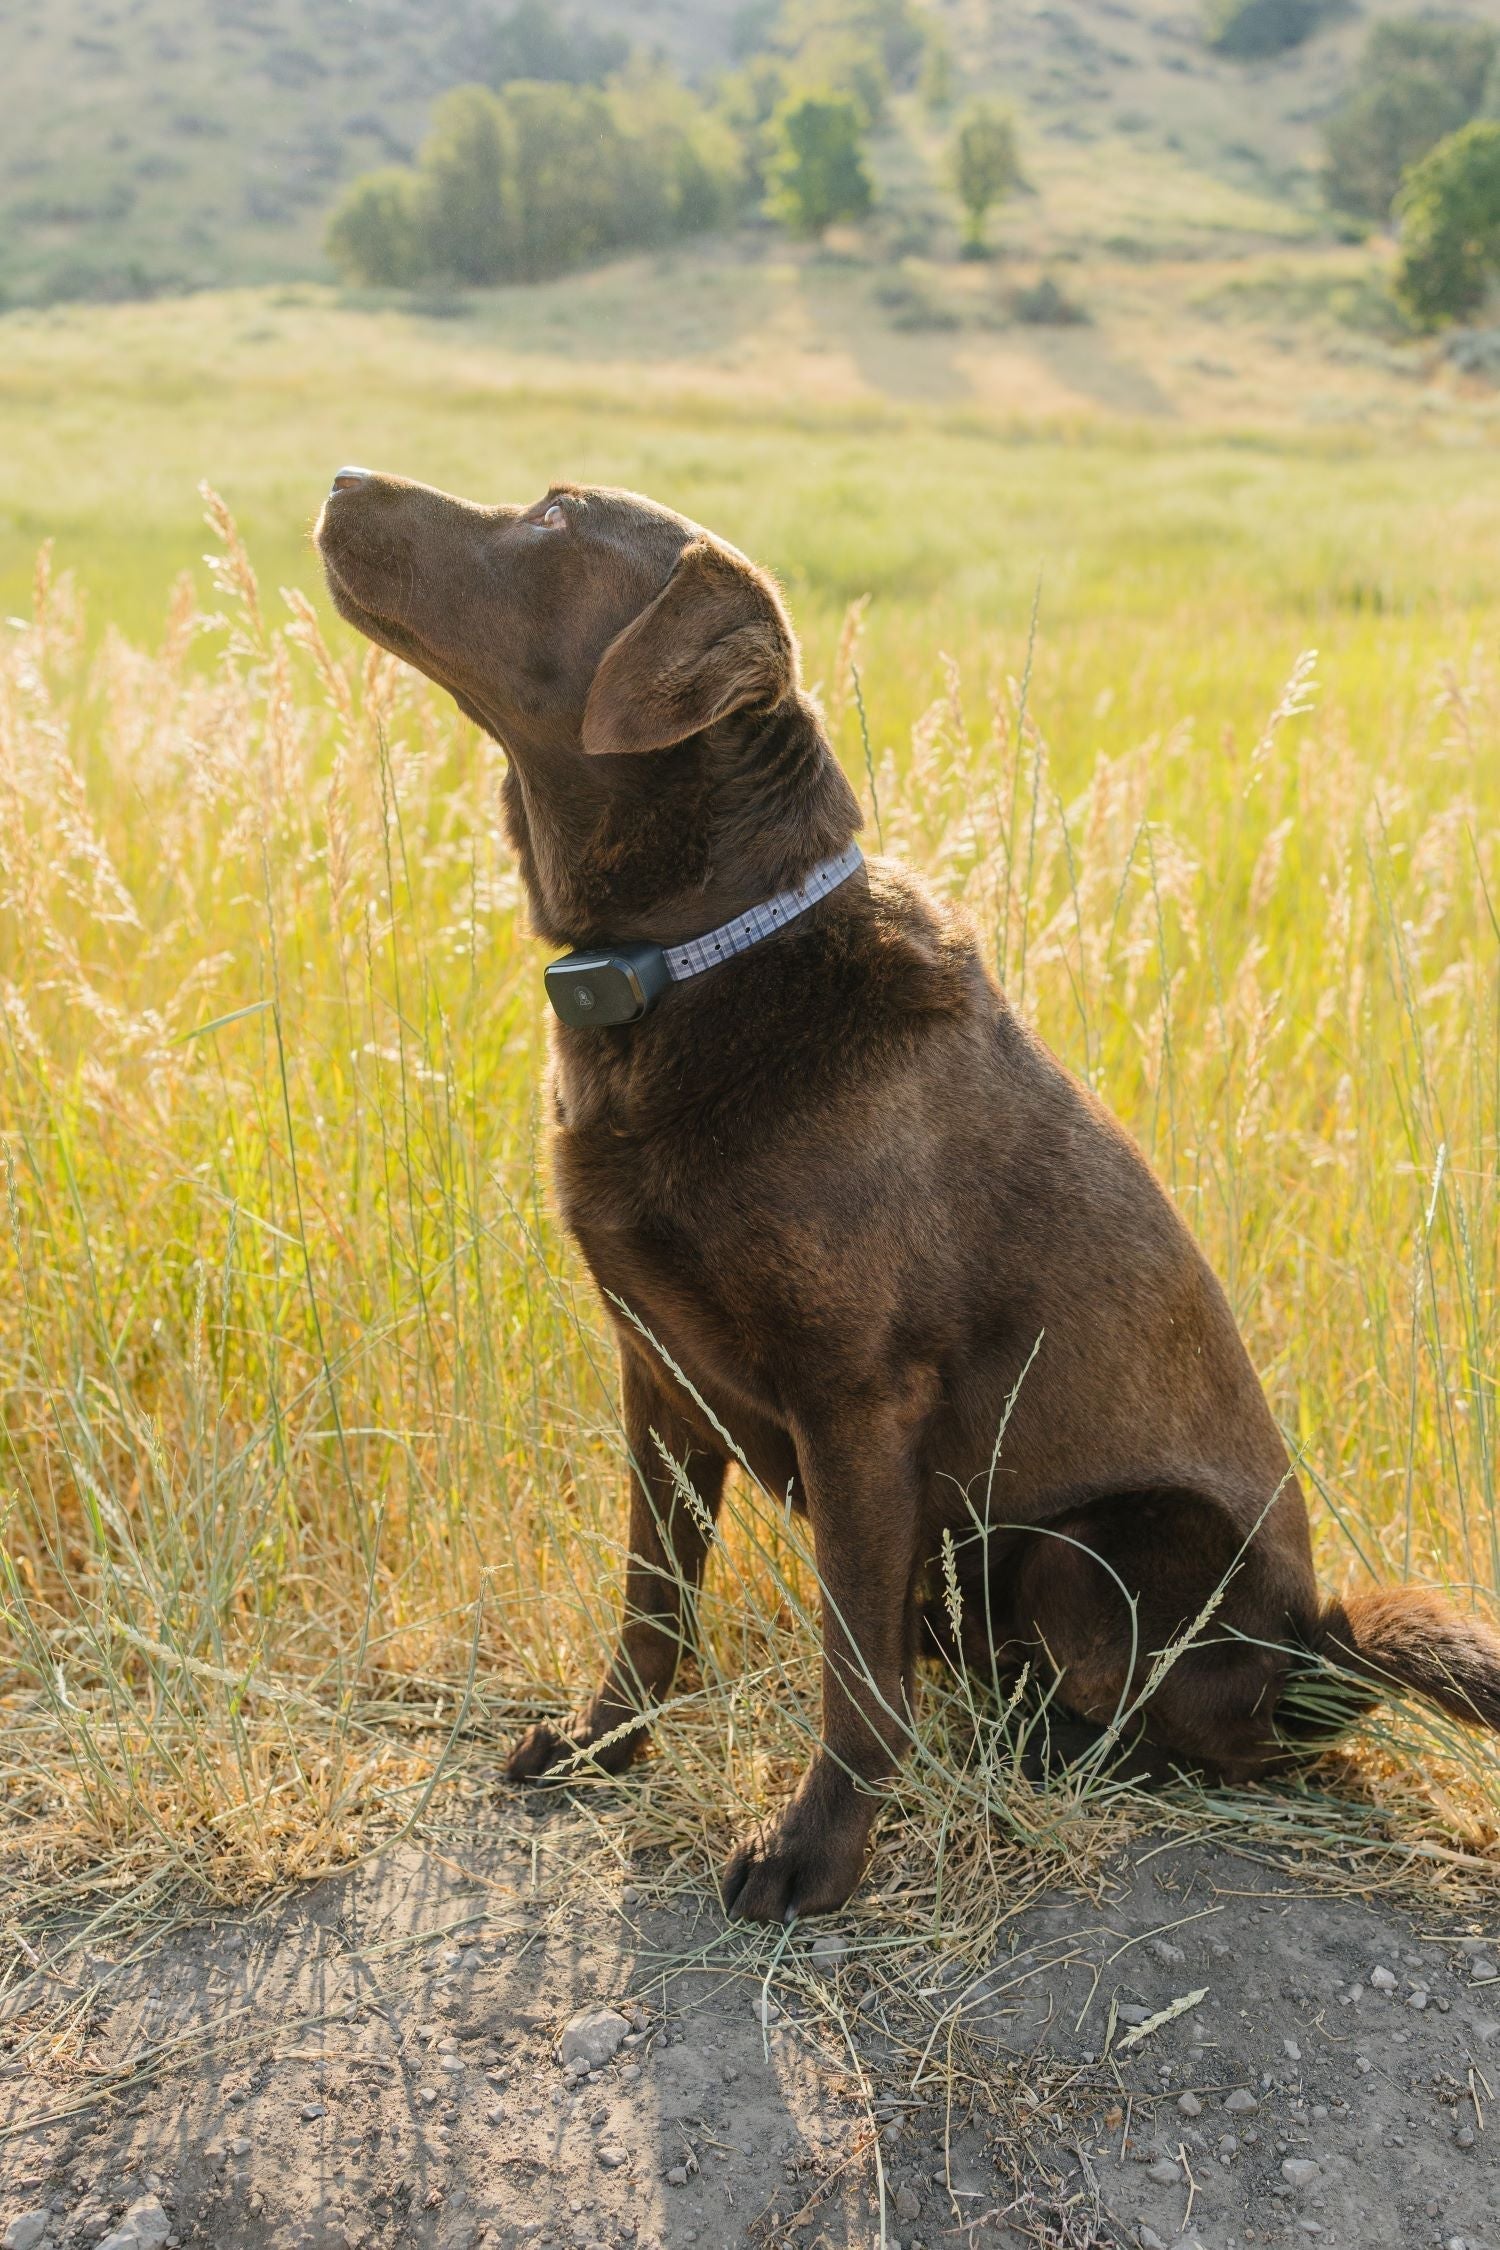
The GPS-enabled dog collar .
-
A charging station for the collar.
-
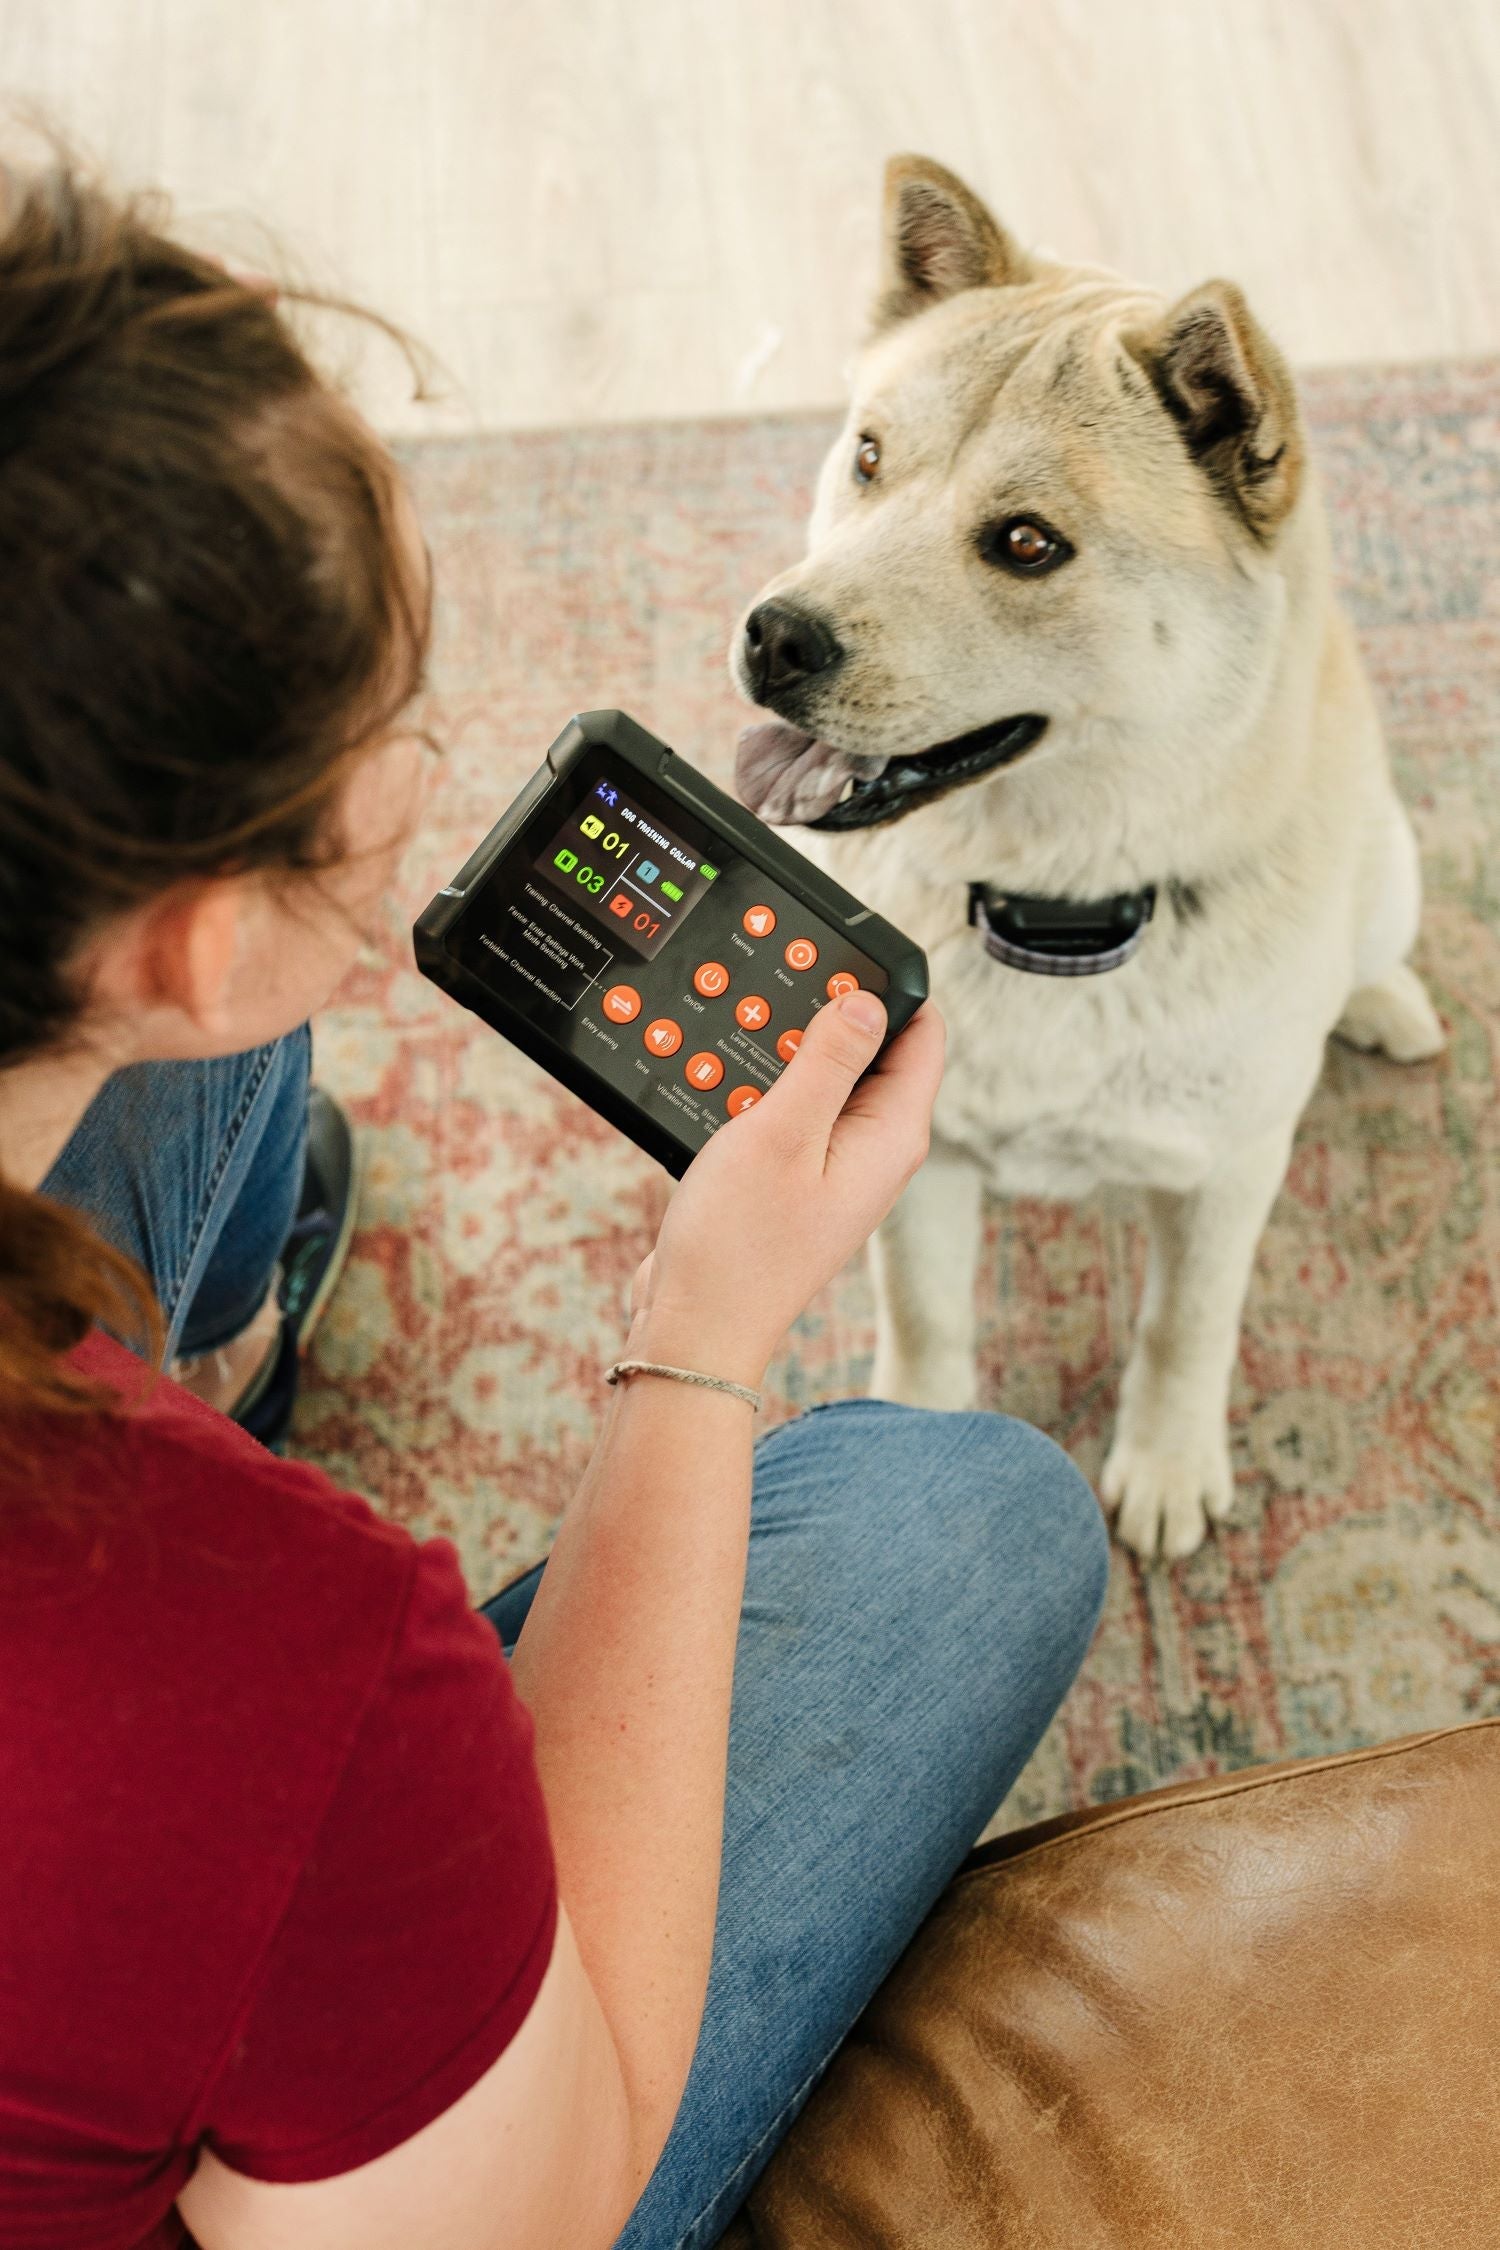
A base unit or handheld device to set boundaries.
-
Any necessary power cables or adapters.
-
The user manual or quick start guide.
The manual is the key. All reliable brands, like PawTronic, will include a spoon-fed user manual. Take your time reading through the manual to understand the system.
Step 2: Charge the Dog Collar
Before testing it any electronic gadget, make to charge it fully. Your dog collar might take a couple of hours to charge, so it's a good idea to do this first. A fully charged collar ensures that the GPS functionality will be accurate and that the dog collar battery won't die while you're in the middle of setting up.
Step 3: Choose the Boundary Area
By now you must've understood the handling of the device. Now, it's time to decide where to set the boundaries and safe zones for your dog. Most Wireless Dog Fence systems, especially from critically acclaimed brands like PawTronic, allows to create a custom boundary that suits your property. Whether outdoor for an irregularly shaped yard or indoor spaces, both the Radar and GPS system allows you to define the perimeter with accuracy.
-
Walk the edge: Move around the area where you want to set the boundary with the base unit or handheld device. Most systems allow you to drop pins or markers at key points to establish the perimeter.
-
Mark the boundary: As you walk, use the device or the mobile application to set the boundary points. The system will connect these points to form an invisible dog fence line .
Step 4: Test the Boundary
Before letting your dog loose, it's better to first test the boundary just to be sure. Here's how you can test the boundary before training your dog about it:
-
Walking the perimeter yourself: Hold the dog collar in your hand and walk along the boundary line. When you approach the boundary, the collar should give a warning, such as a beep or vibration which is also customizable according to your dog's response.
-
Double check for any gaps: Ensure there are no gaps or weak spots in the boundary where your dog could potentially escape. If found any, adjust the boundary points using the base unit or handheld device.
Step 5: Time to Train Your Dog
Now you've got your wireless dog fence system set up , get your dog used to the invisible fencing. At this pint many dogs get puzzled as they cannot see any physical fencing system that keeps them from crossing the boundary. It is important to train your dog where the boundary is and what happens when they approach it.
-
Start with the collar off: These wireless dog fencing collars have an option to disable the fencing without taking the collar off. Walk your dog around the yard with your dog to show them the boundary line. Initially, point out any markers or flags you might have placed as visual cues.
-
Put the collar on: Once your dog is familiar with the boundary line, now turn on the dog collar system. Start by walking them around the boundary while on a leash. Allow them to approach the boundary to hear or feel the warning.
-
Practice training: If your dog attempts to cross the boundary and receives a warning, gently guide them back into the safe zone and reward them with praise or treats.
Step 6: Monitor and Adjust as Needed
After the initial period of set up and training your dog to use the GPS fencing , monitor your dog's behavior over the next few days. If you notice any issues, such as the collar not responding correctly or your dog showing signs of confusion, you may need to adjust the boundary or reconsider training exercises.
-
Check the collar regularly: Check every few weeks if the dog collar is performing well or is there is something has been dysfunctioning.
-
Adjust the boundary: If you find that the boundary needs tweaking—perhaps it's too close to a busy road or too far from the house—use the base unit or handheld device to make adjustments or as directed in the user manual.
Conclusion
Why the PawTronic Wireless Dog Fence is a Great Choice
Setting up a GPS Wireless Dog Fence might sound like you need to be good with tech. But with the right system, it's a simple process that offers peace of mind. The PawTronic Wireless Dog Fence is an excellent choice for pet owners looking for reliability, ease of use, and precision. With a durable, waterproof dog collar and easy-to-follow user manual with setup instructions, PawTronic makes protecting your furry friend simple. Check out the PawTronic system here to give your dog the best in safety and freedom.
Frequently Asked Questions
How to install a GPS dog fence?
Installing a GPS dog fence is simple and doesn’t require digging or wiring. Start by unpacking all components and fully charging the collar. Next, use the base unit or mobile app to walk the perimeter of your desired boundary and drop pins to define the safe zone. Once set, test the boundary by holding the collar and walking around it to ensure it beeps or vibrates at the correct points. After confirming accuracy, begin training your dog to understand the limits.
Do GPS dog fences really work?
Yes, high-quality GPS dog fences like the PawTronic GPS Fence are highly effective when installed and used correctly. They use satellite technology to maintain consistent, invisible boundaries that keep your dog within a designated area. Reliability depends on factors like signal strength, collar fit, and proper training. When these are optimised, GPS dog fences provide excellent containment without the need for physical barriers.
Does an invisible fence work when power goes out?
Most GPS-based wireless fences operate on rechargeable batteries, so the system will continue working during a power outage as long as the collar and base unit remain charged. However, if the base unit relies on constant power and loses charge, the system may temporarily deactivate. Keeping your devices charged and having backup power options ensures continuous operation during outages.
Does a wireless dog fence have to be a circle?
No, modern GPS dog fences like PawTronic allow you to create custom-shaped boundaries instead of being limited to a circular area. You can draw or walk the perimeter of your property (square, rectangular, or irregularly shaped) and the system will connect those points to form a precise, invisible fence tailored to your yard’s layout.
Leave a comment
This site is protected by hCaptcha and the hCaptcha Privacy Policy and Terms of Service apply.